
Websites
Build and monetize your online presence with a fully integrated website - from digital products to e-commerce sales.


Move your audience off social media and own your relationship with them

Use the right metrics, organized into reports you’ll actually use.
Automatically collect, respond to, and analyze customer feedback from email, SMS, Google My Business, and Facebook.

Automate Instagram and Facebook DMs to capture leads, deliver offers, and drive sales — even while you sleep.

Build dynamic landing pages without needing a designer

Create marketing emails worth opening

Automate and scale with Amply360’s proven, ready-made Funnels
Create and manage Workflows to automate business processes, improve efficiency, and increase conversions.

Plan, schedule, and publish content across platforms, so you stay consistent without the chaos.

Engage leads 24/7 with intelligent chatbots that qualify, nurture, and convert — automatically.
Quickly find the right help for where you’re at

Curated expert insights and process to grow your business
Refer a friend and earn lifetime commissions for each activated referral

Official Facebook Group to connect with fellow AMPLY Aces, ask for help and get feedback
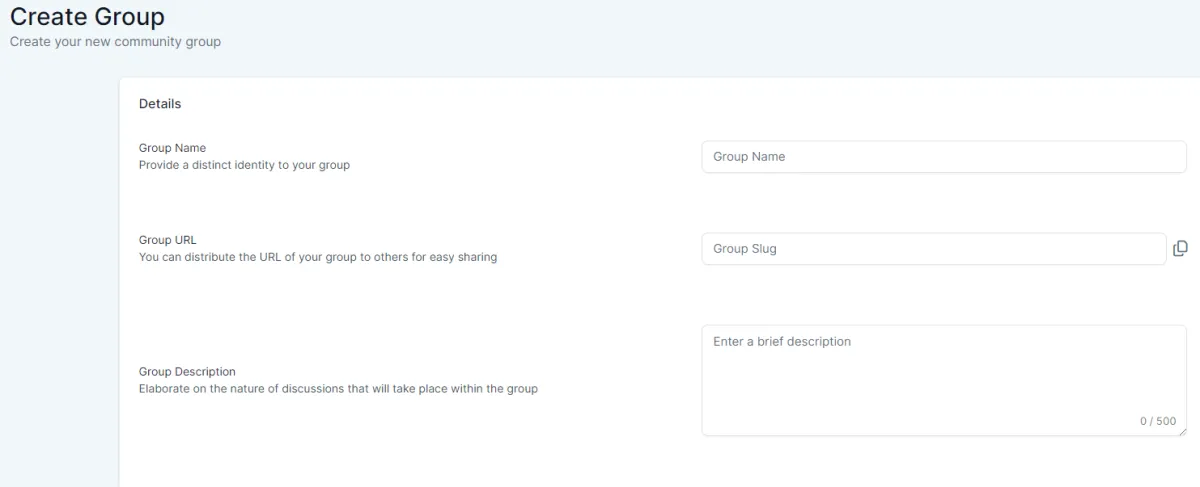
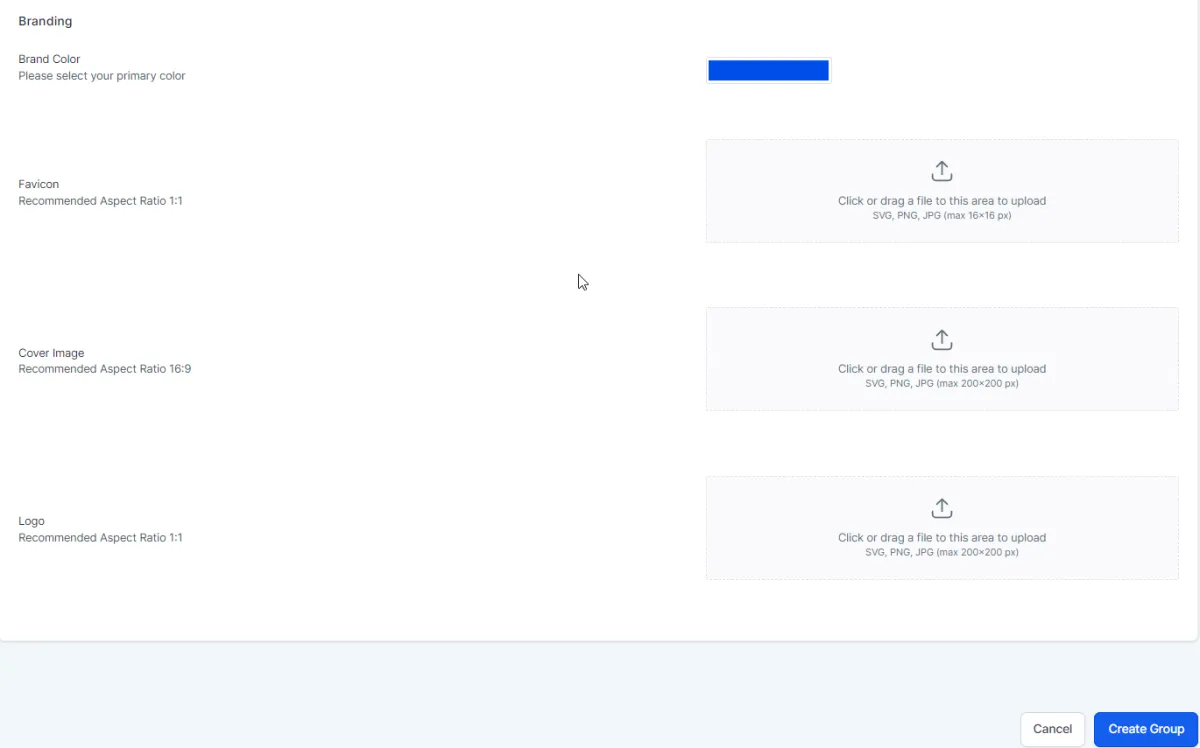
Communities

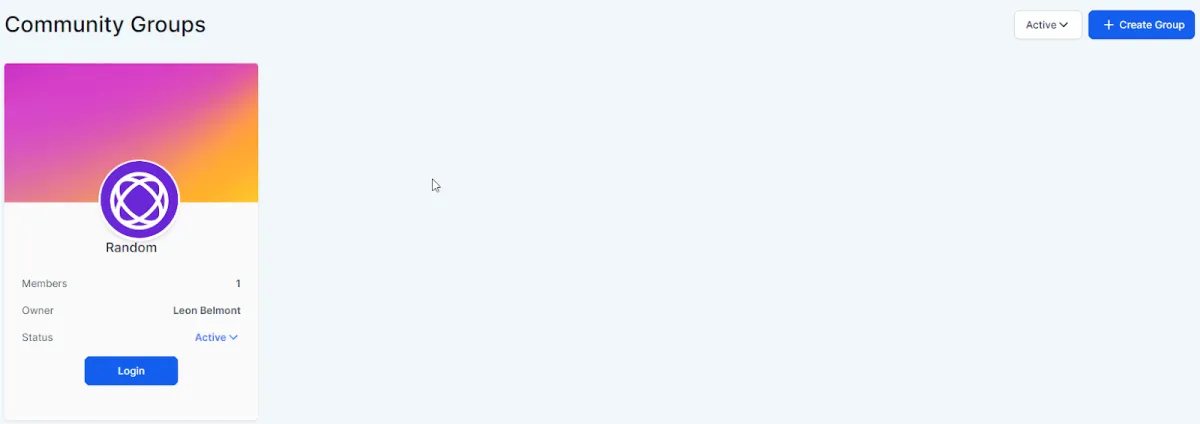


Join our Community!


